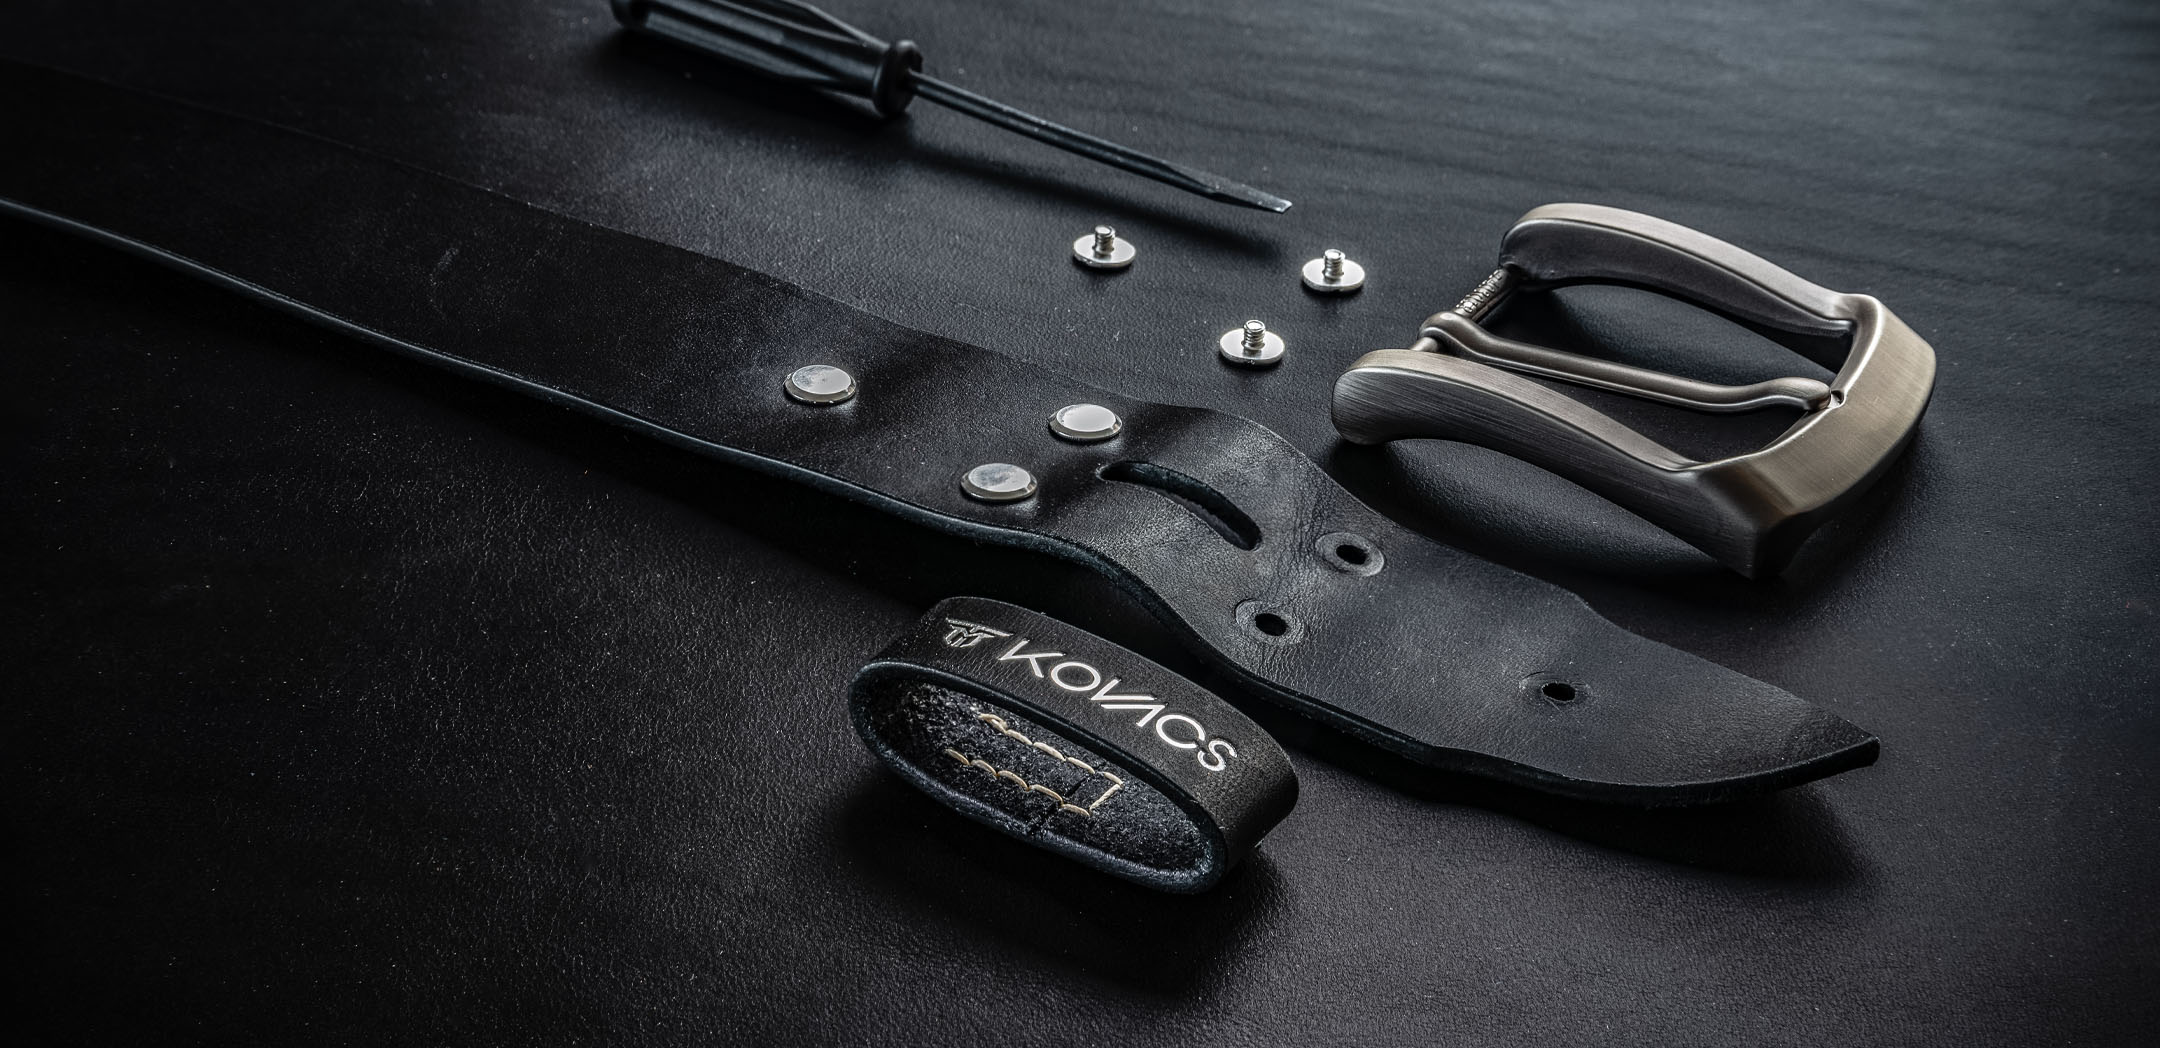
Crafting our leather belts takes time, skill, and precision. We could take the easy route – cut raw leather, paint the edges, and move on, as most do. But that is not how we work.
Our standard of craftsmanship is much higher.
Every belt is made entirely by hand in our atelier in Bratislava, Slovakia.
Our eight-step process shows how we transform raw leather into a finished belt – from the first cut to the final polish.
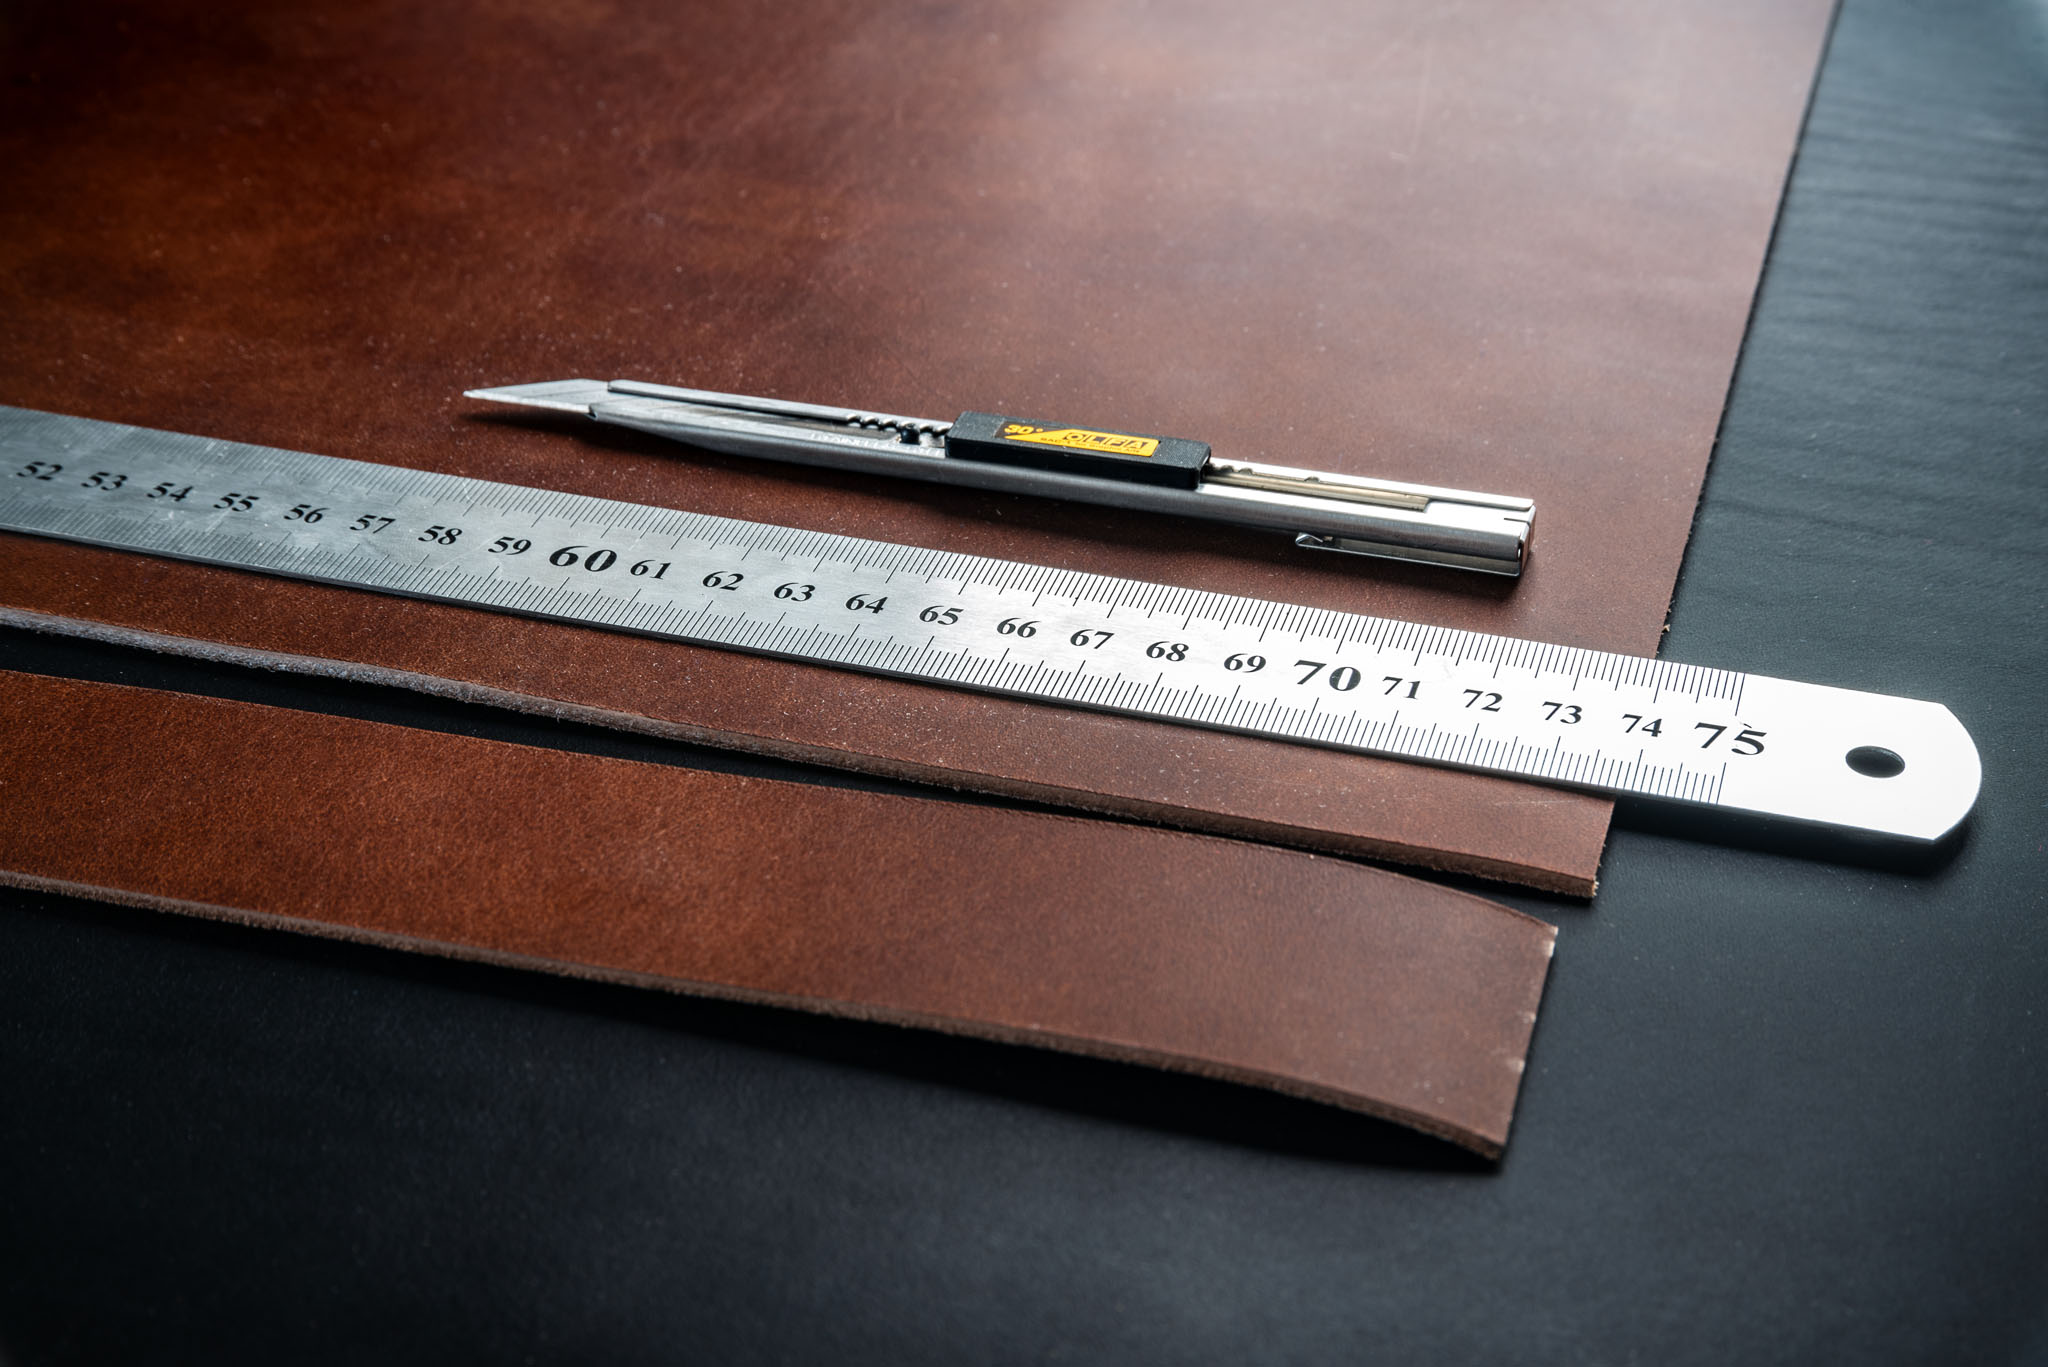
We start with raw leather and cut the strips to the required width and length. For our belts, we select only premium full-grain vegetable-tanned leather from Conceria Walpier in Tuscany, Italy. Their Buttero leather is finished in pure aniline and develops a rich, natural patina over years of use.
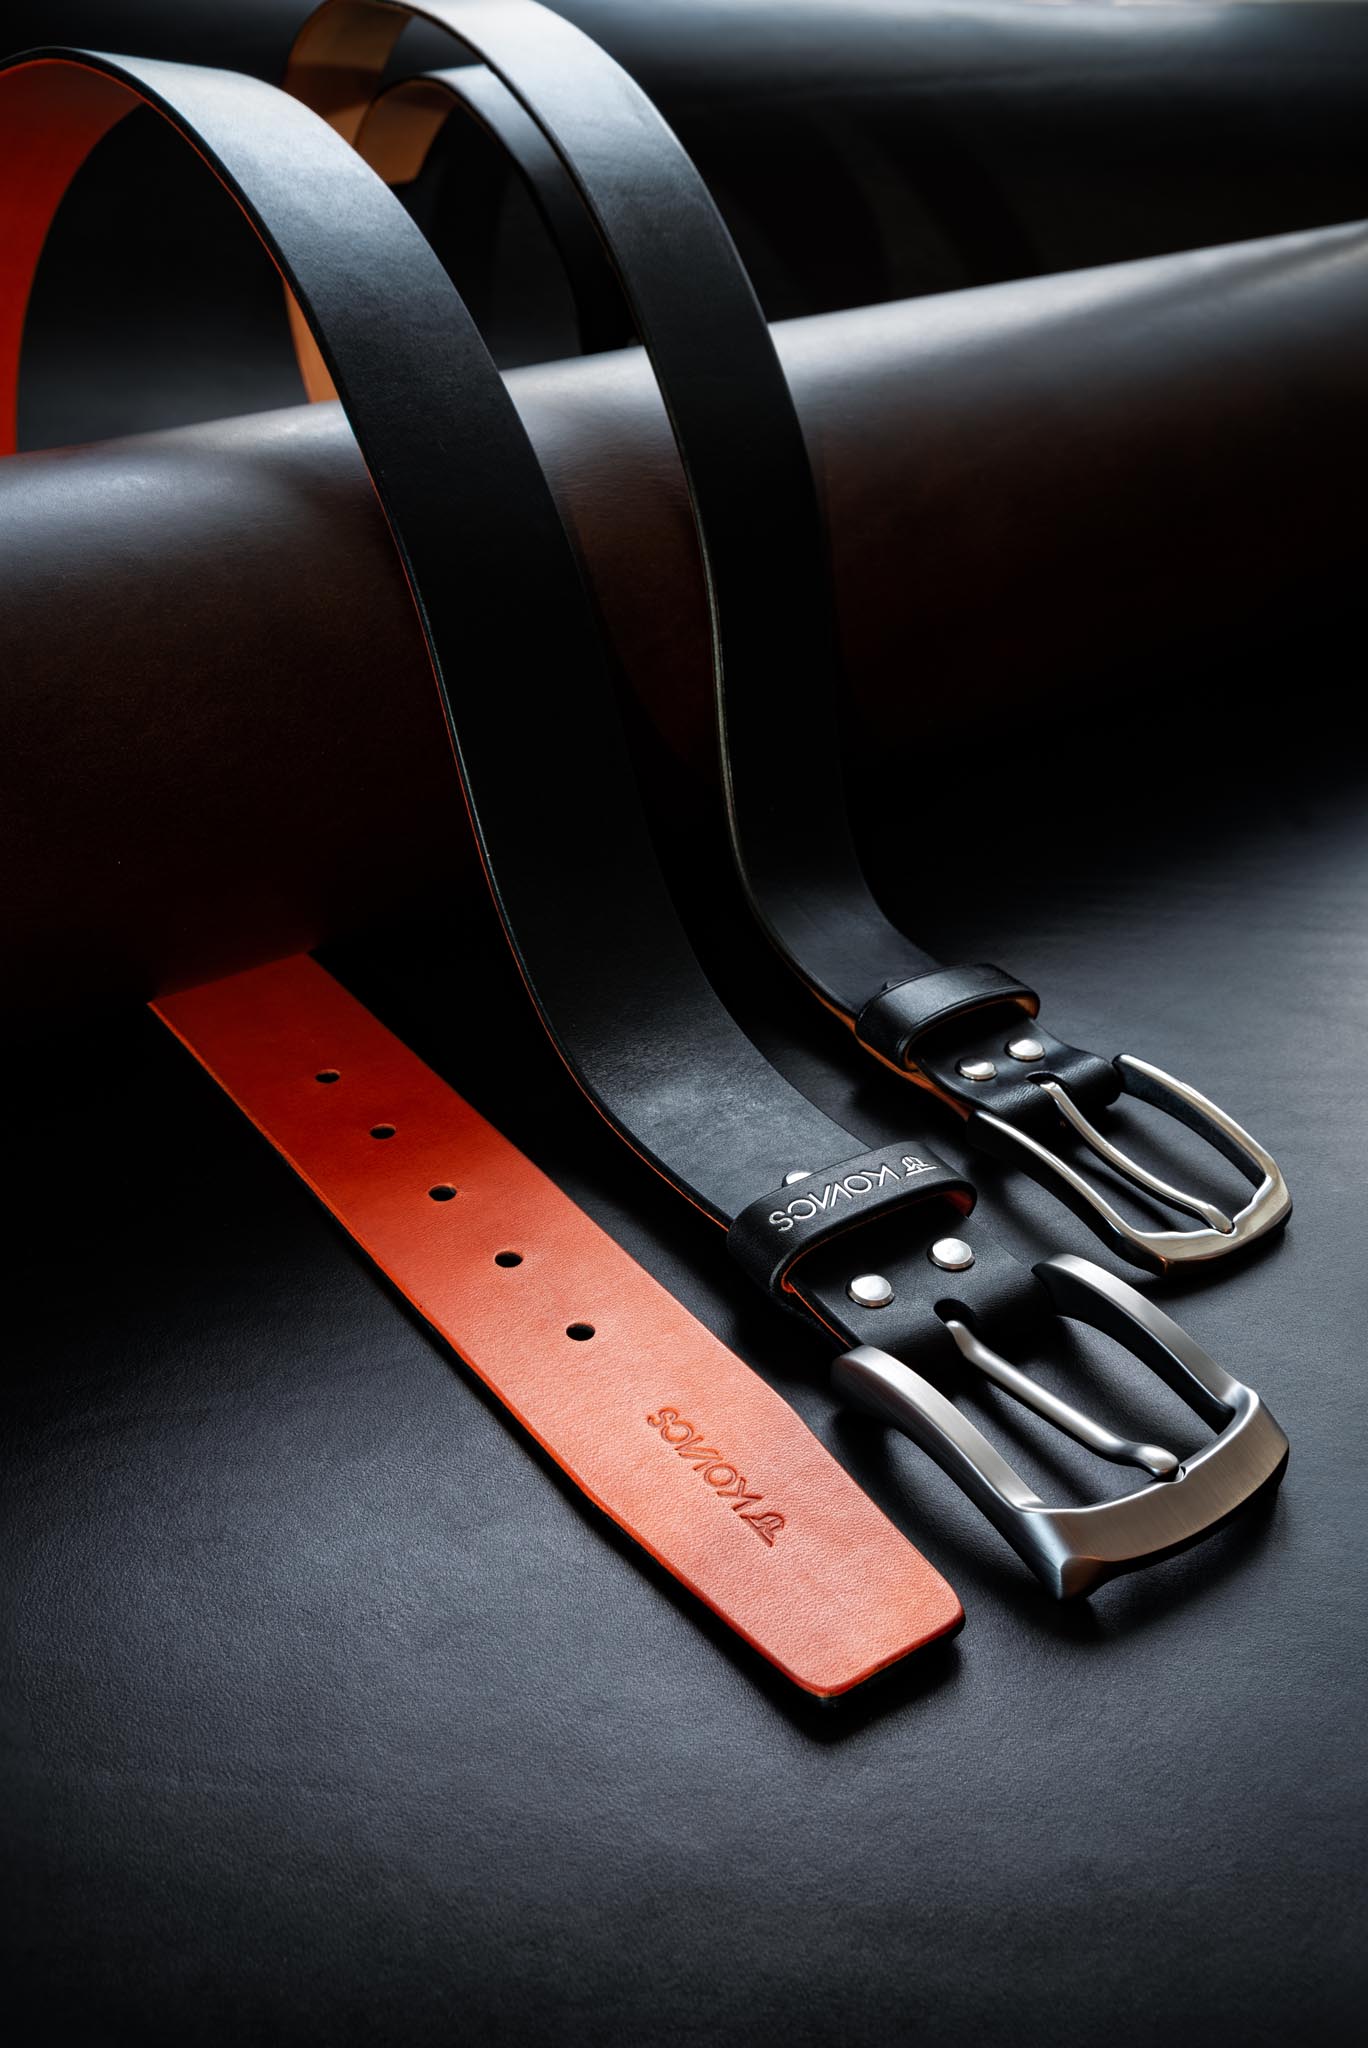
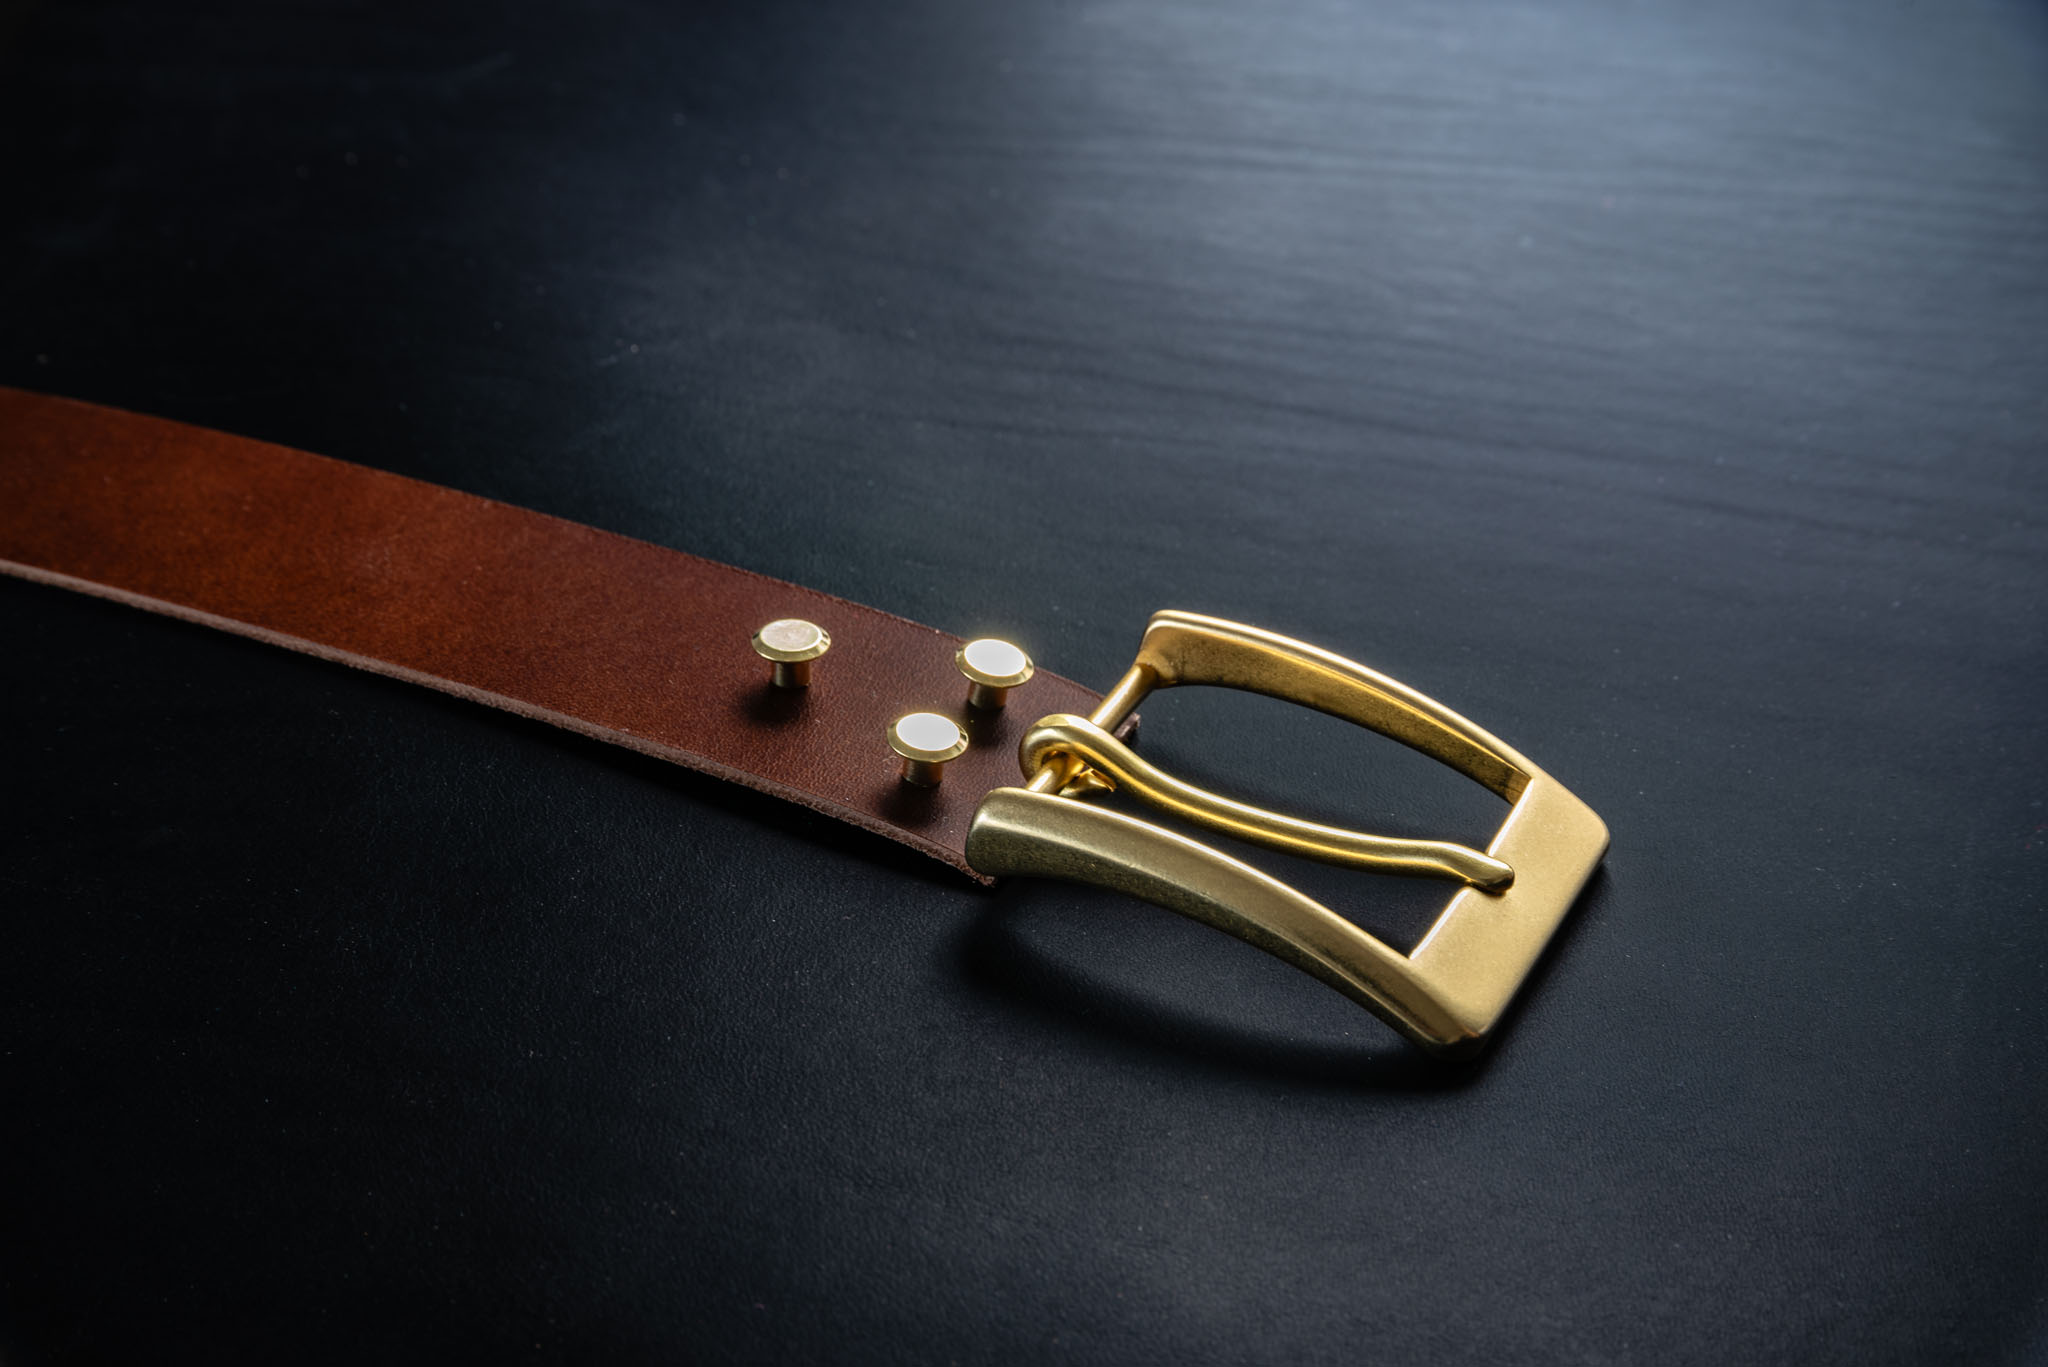
We select only solid metal hardware chosen for strength, longevity, and material integrity. While hardware choice ultimately reflects the client’s preference, we actively guide pairings to ensure balance and cohesion – much like wine and food. Black leather pairs naturally with stainless steel hardware, while blue or green leathers are best complemented by solid brass.
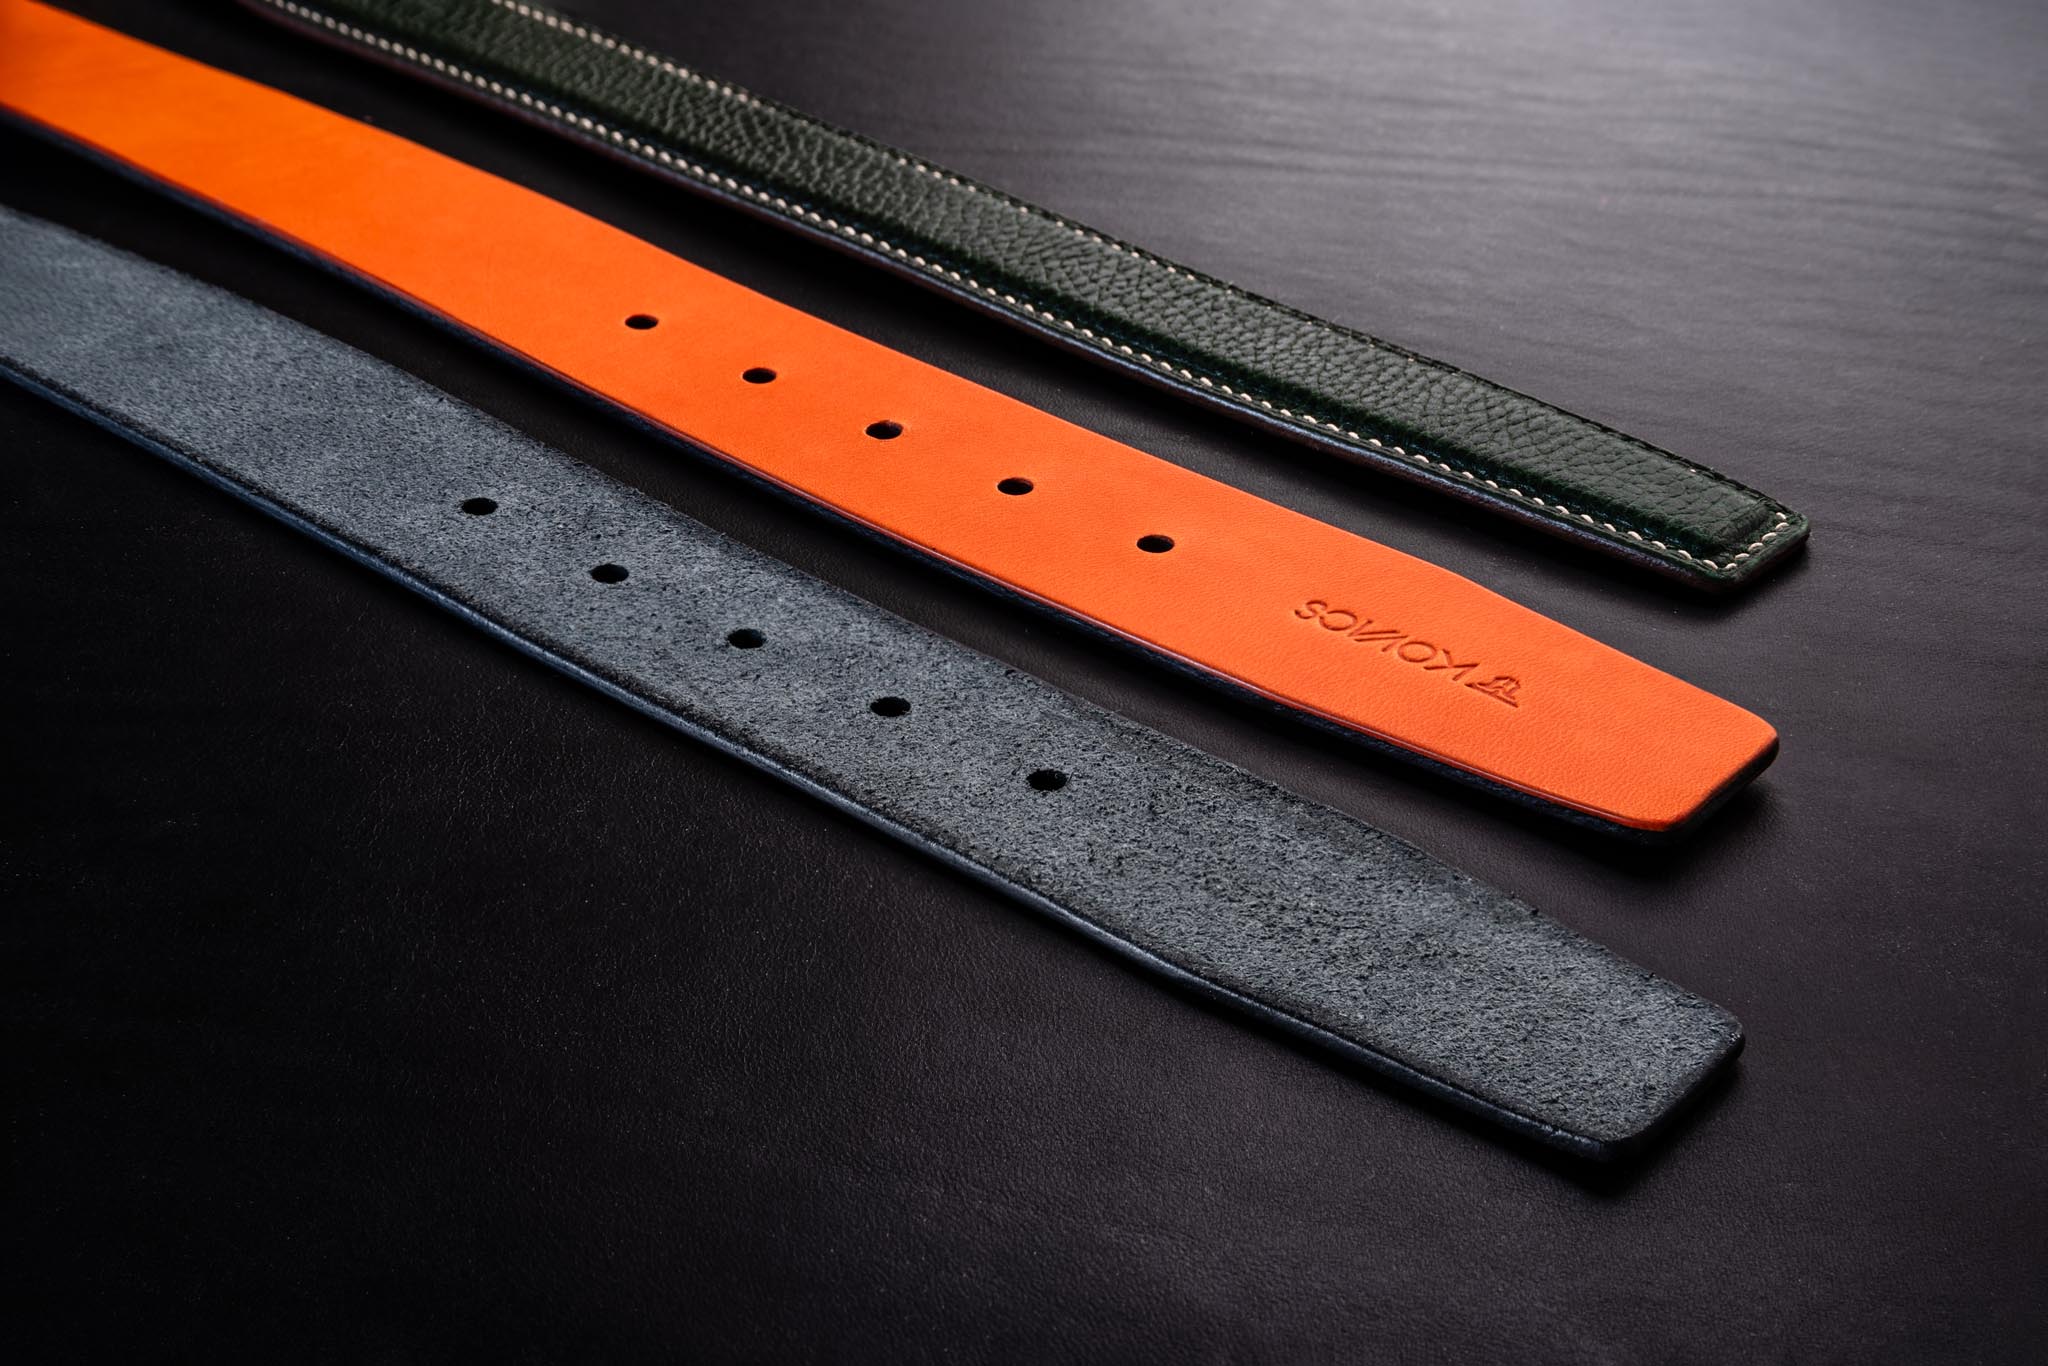
Depending on the belt style, leather strips may be bound together.
Unlined – No lining is added, leaving the reverse side as raw suede. This construction offers greater flexibility and adapts comfortably to the body over time.
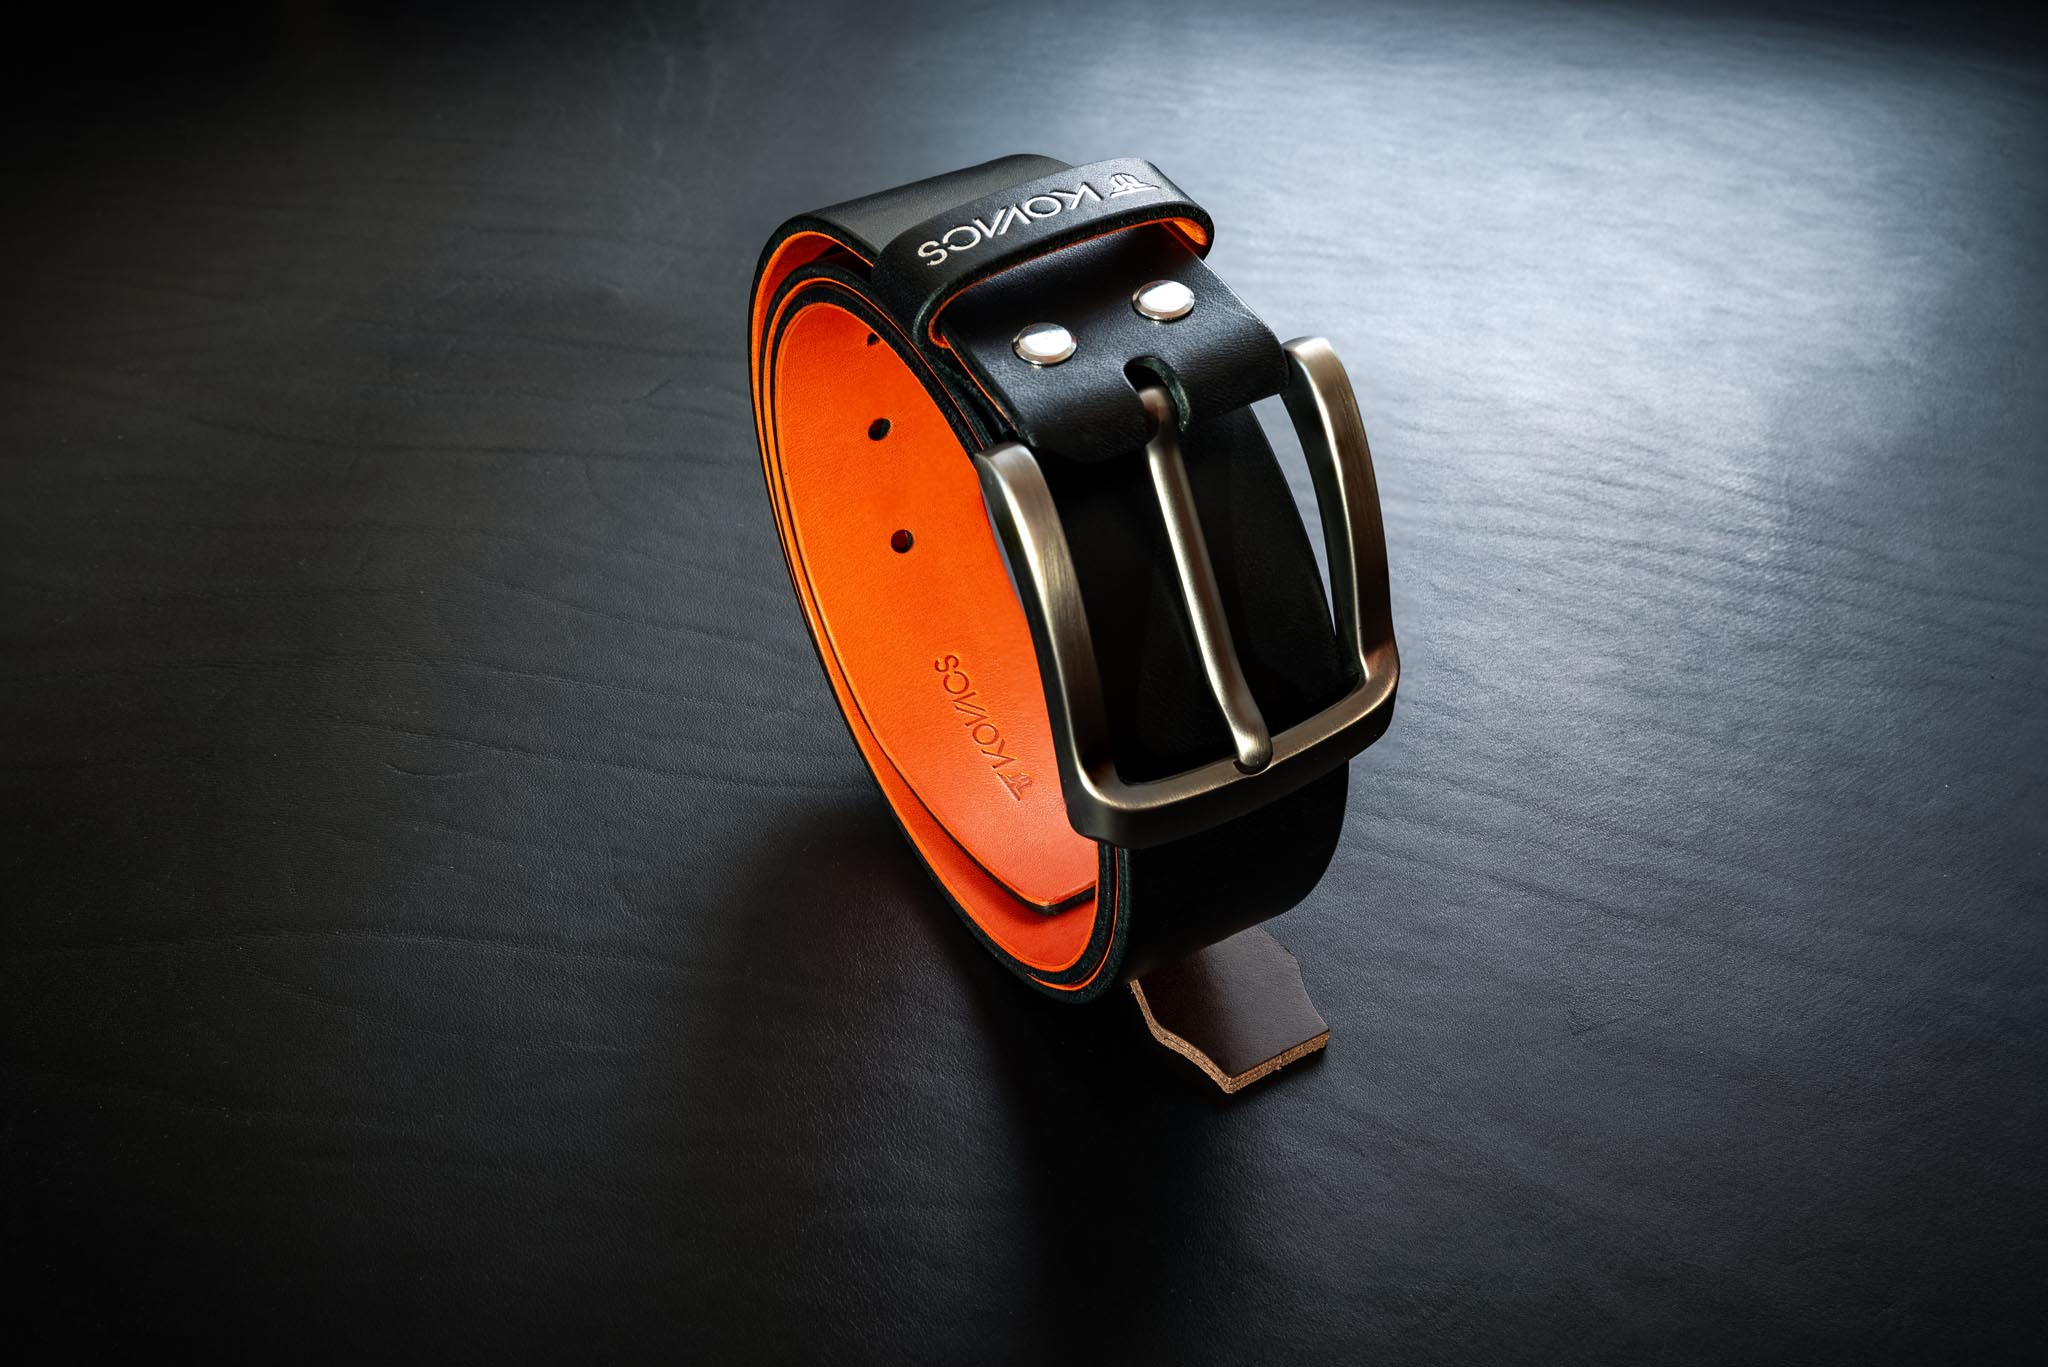
Double-lined – Two leather strips are bound together, allowing contrasting color combinations and resulting in a firmer, highly durable belt.
Padded & Saddle-stitched – A leather core is added to create a subtle three-dimensional profile. Our most complex belt, saddle-stitched entirely by hand using more than eight meters of natural linen thread.
Each belt loop is cut, shaped, and finished separately. We do not use pre-made components – every loop is crafted from the same leather and in the same style as the belt to ensure consistency in appearance, aging, and durability.
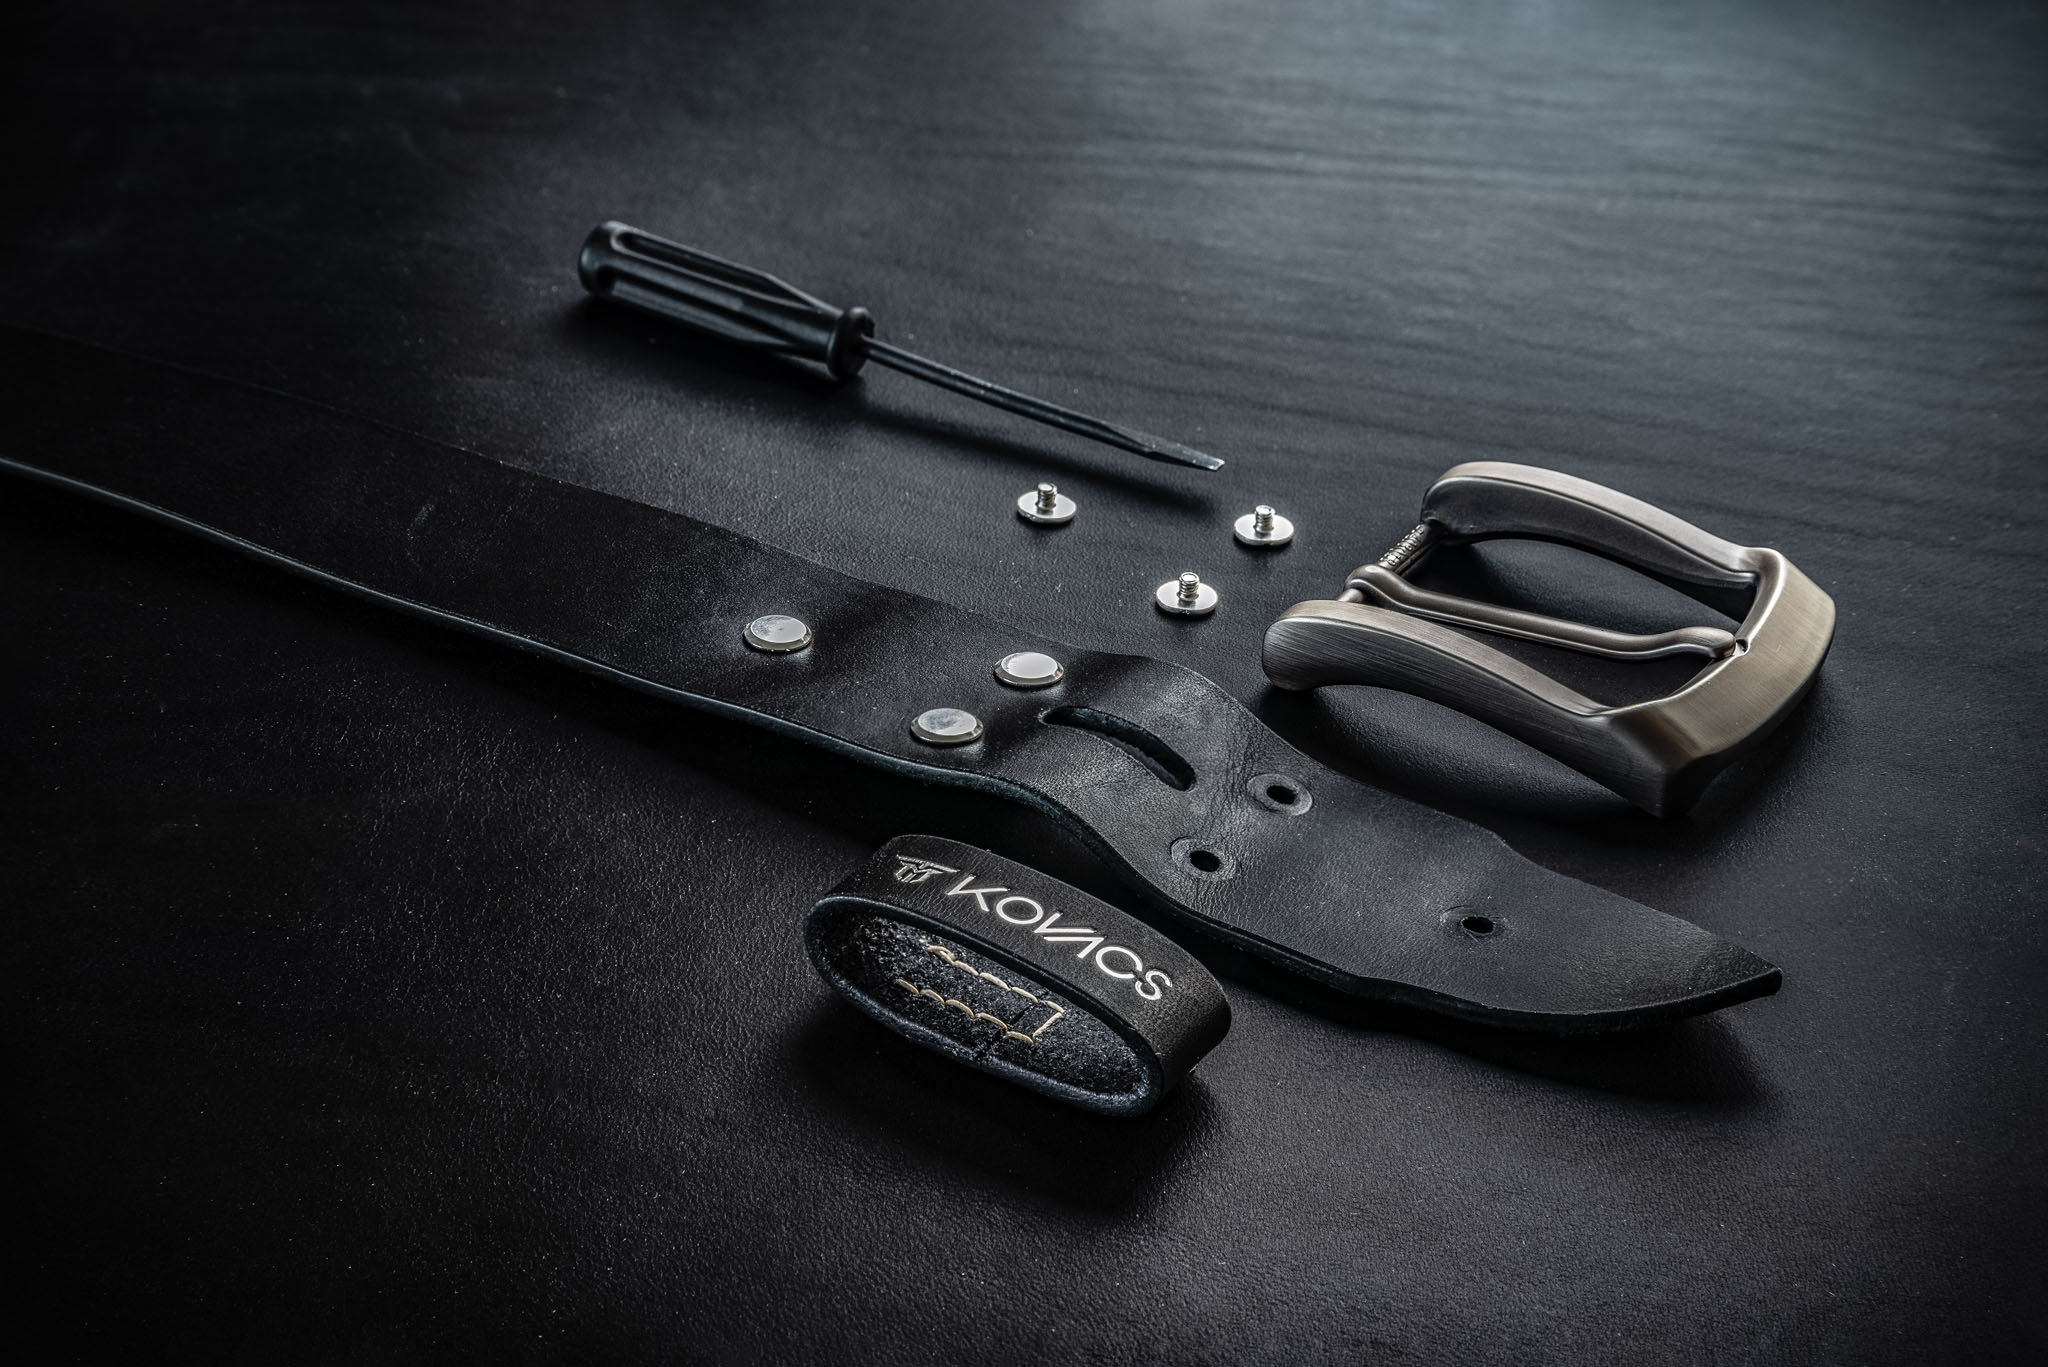
The belt components are carefully aligned and assembled before length cutting. This stage determines the belt’s final proportions and symmetry, ensuring a clean, balanced result once the belt is fully constructed.
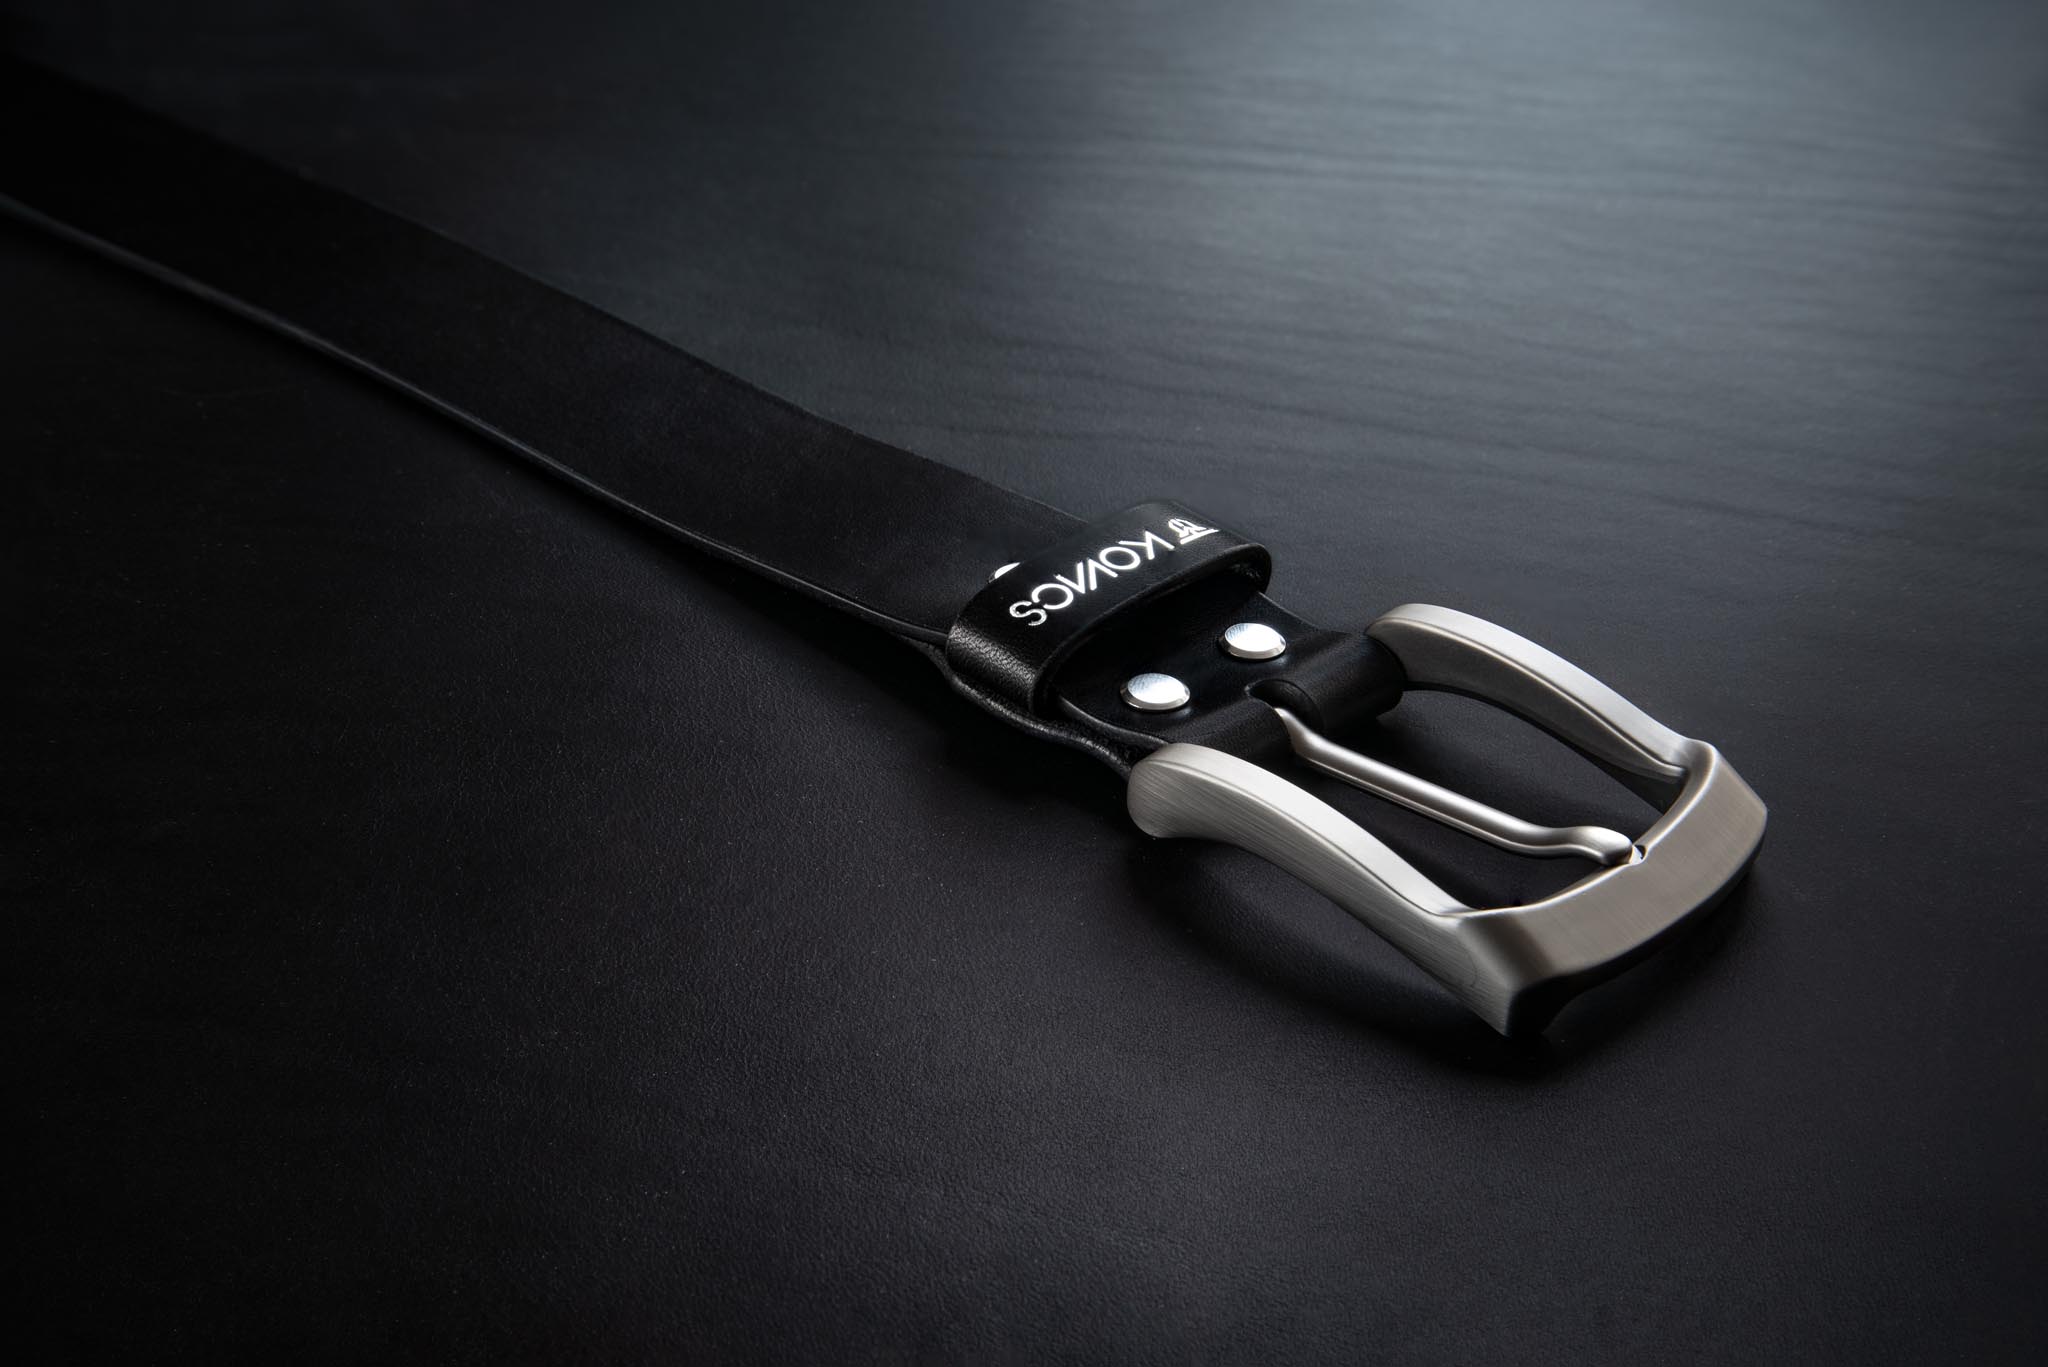
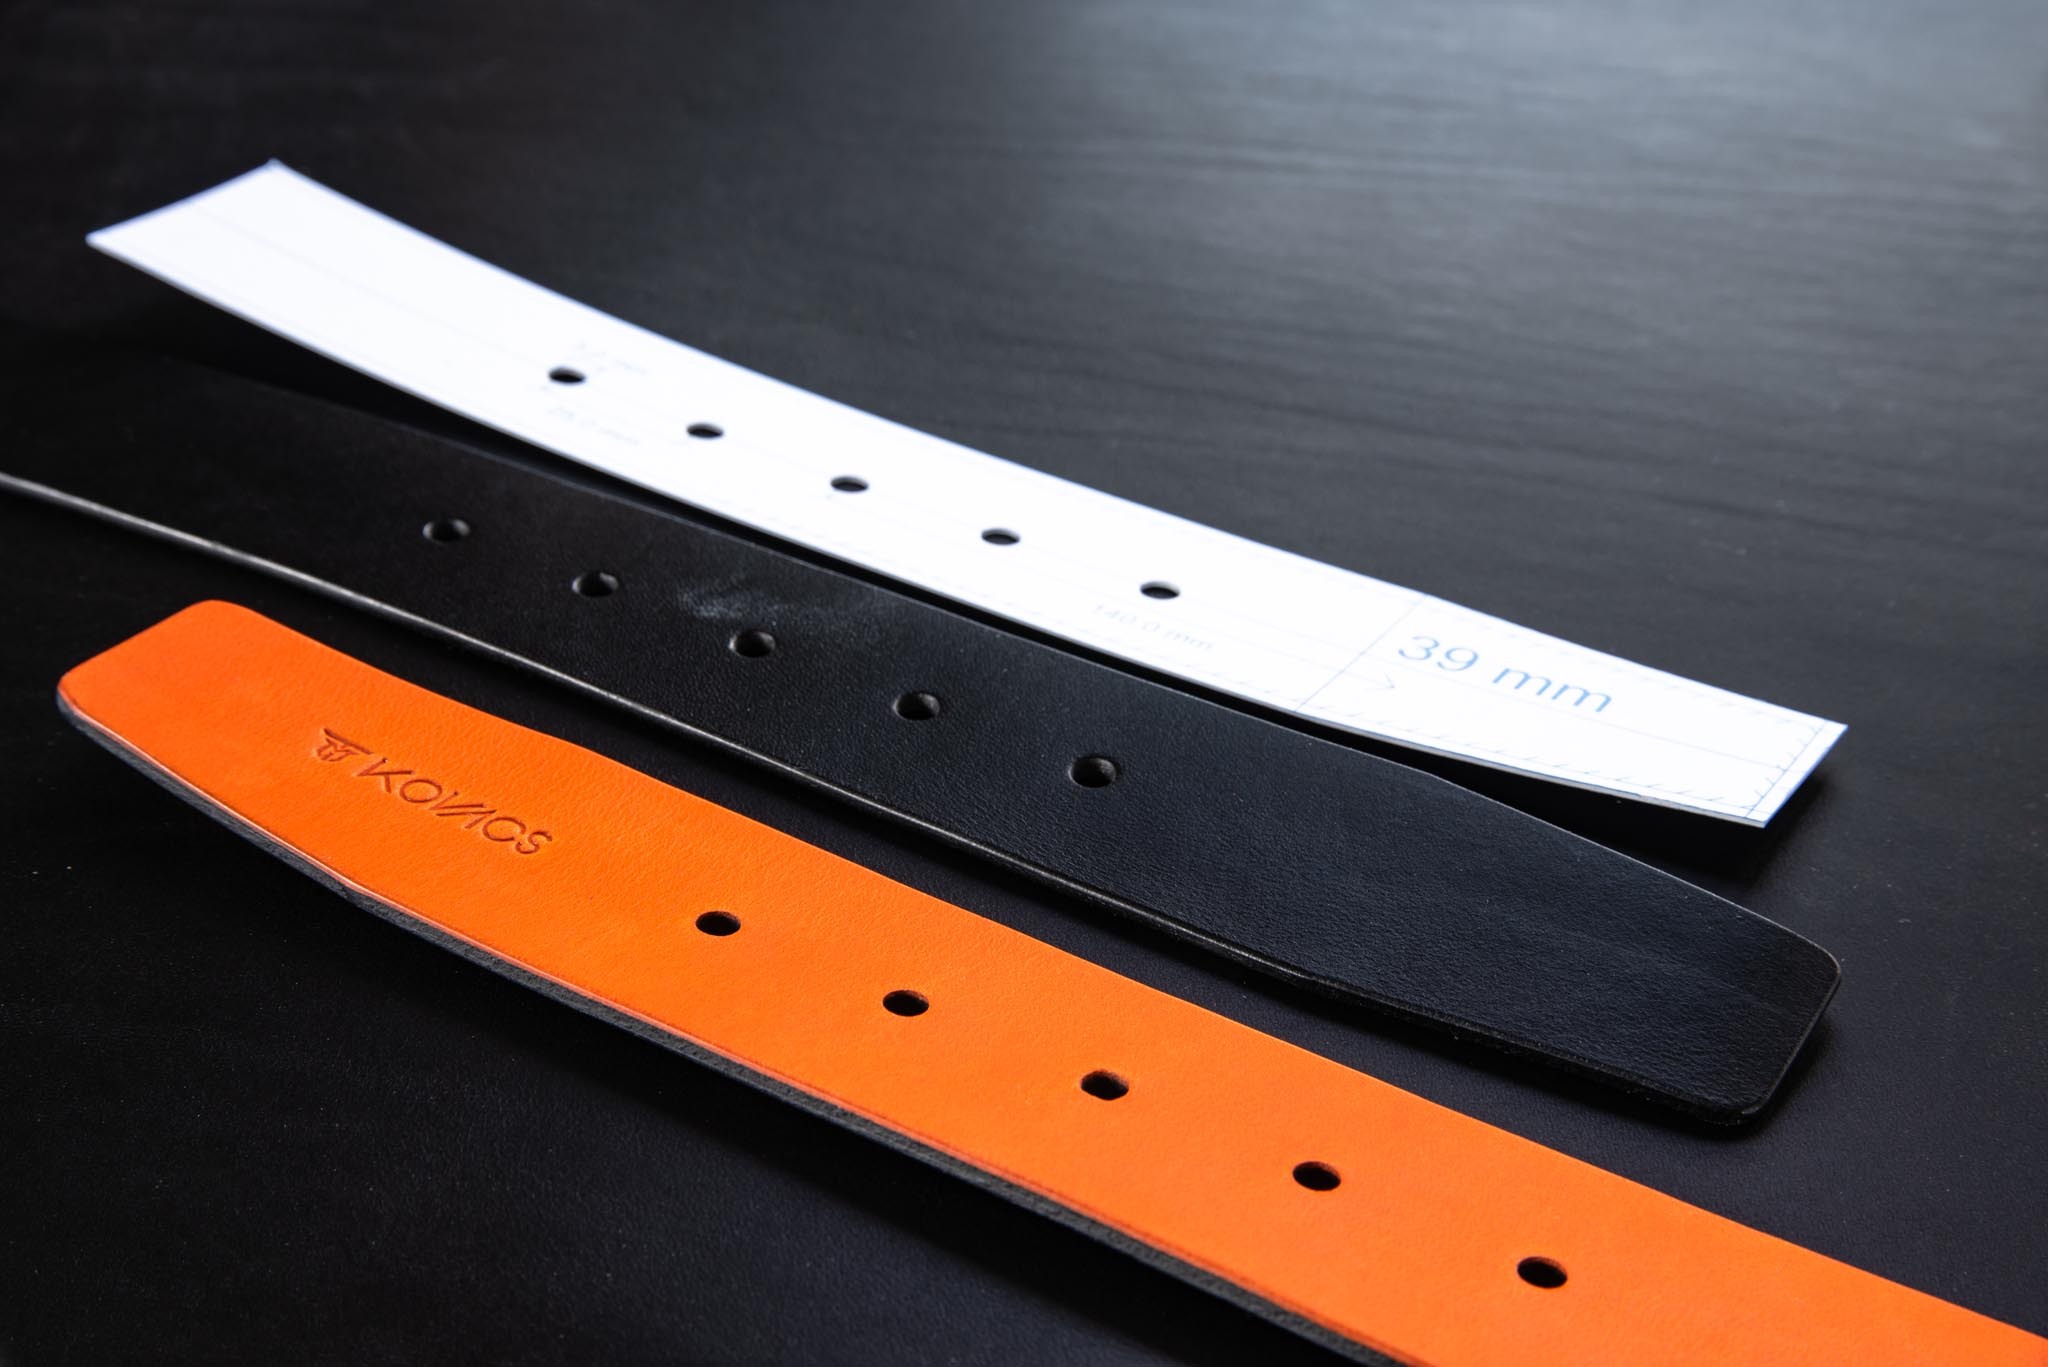
Once assembled, the belt is cut precisely to the client’s requested length. This ensures proper fit and correct hole placement, avoiding unnecessary excess or imbalance at the belt tip.
This way we ensure the belt fits 100 %. It is absolutely crucial, that you followed our article “How to measure belt length” and measured correctly.
The edges are burnished by hand using natural compounds and friction. This process compresses the leather fibers, sealing the edges and creating a smooth, polished surface that enhances durability and resists moisture.
Even if this stage is extremely time consuming, it is your proof that our leather is full-grain and vegetable-tanned. Cheaper chrome-tanned leather cannot be burnished.
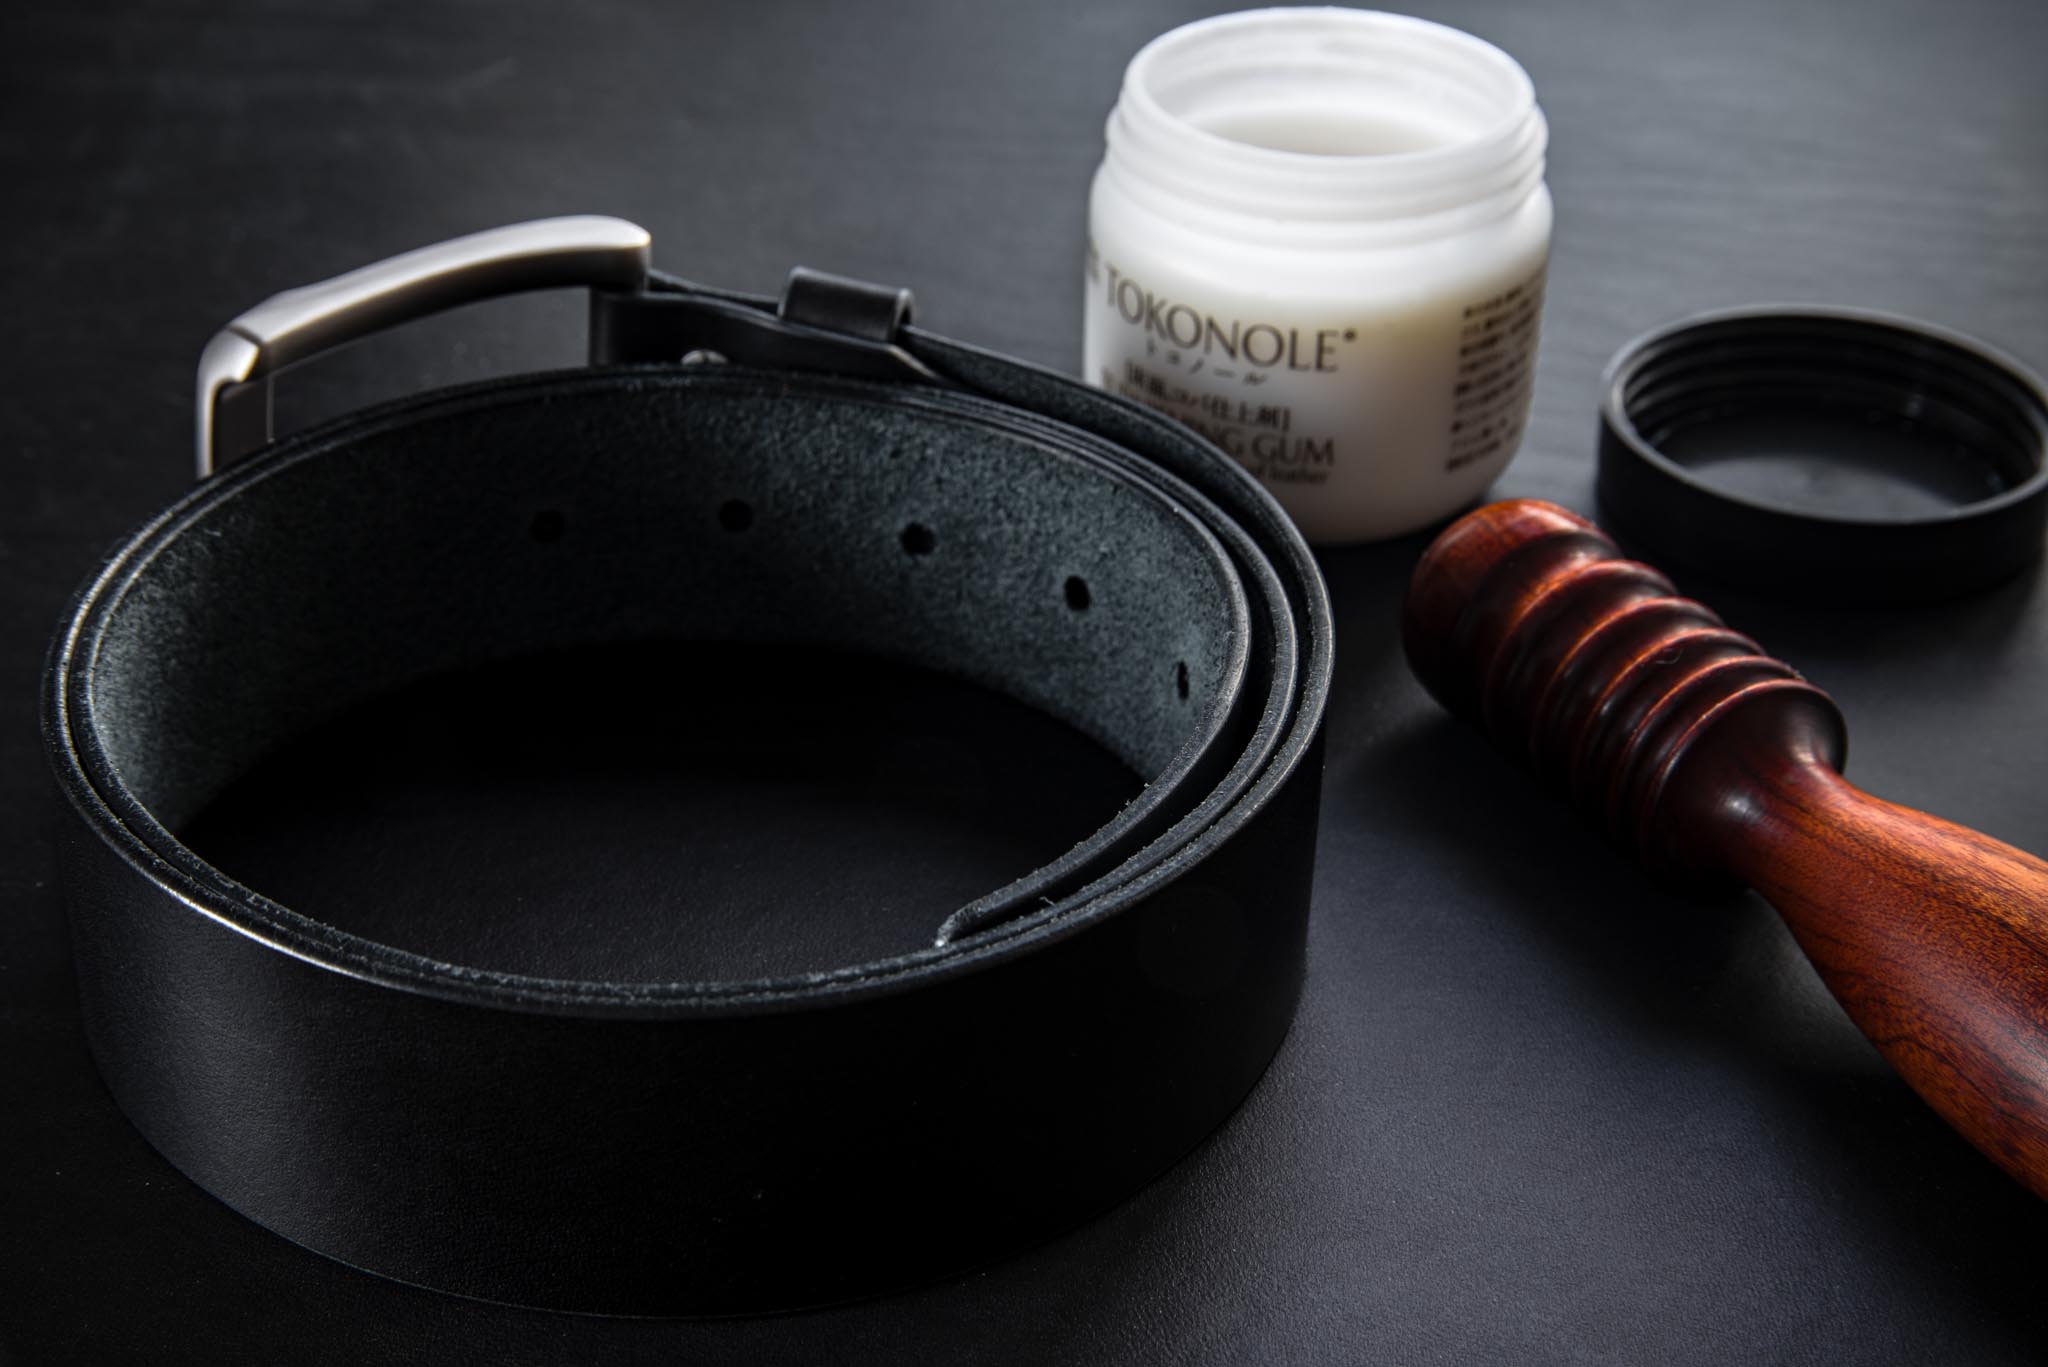
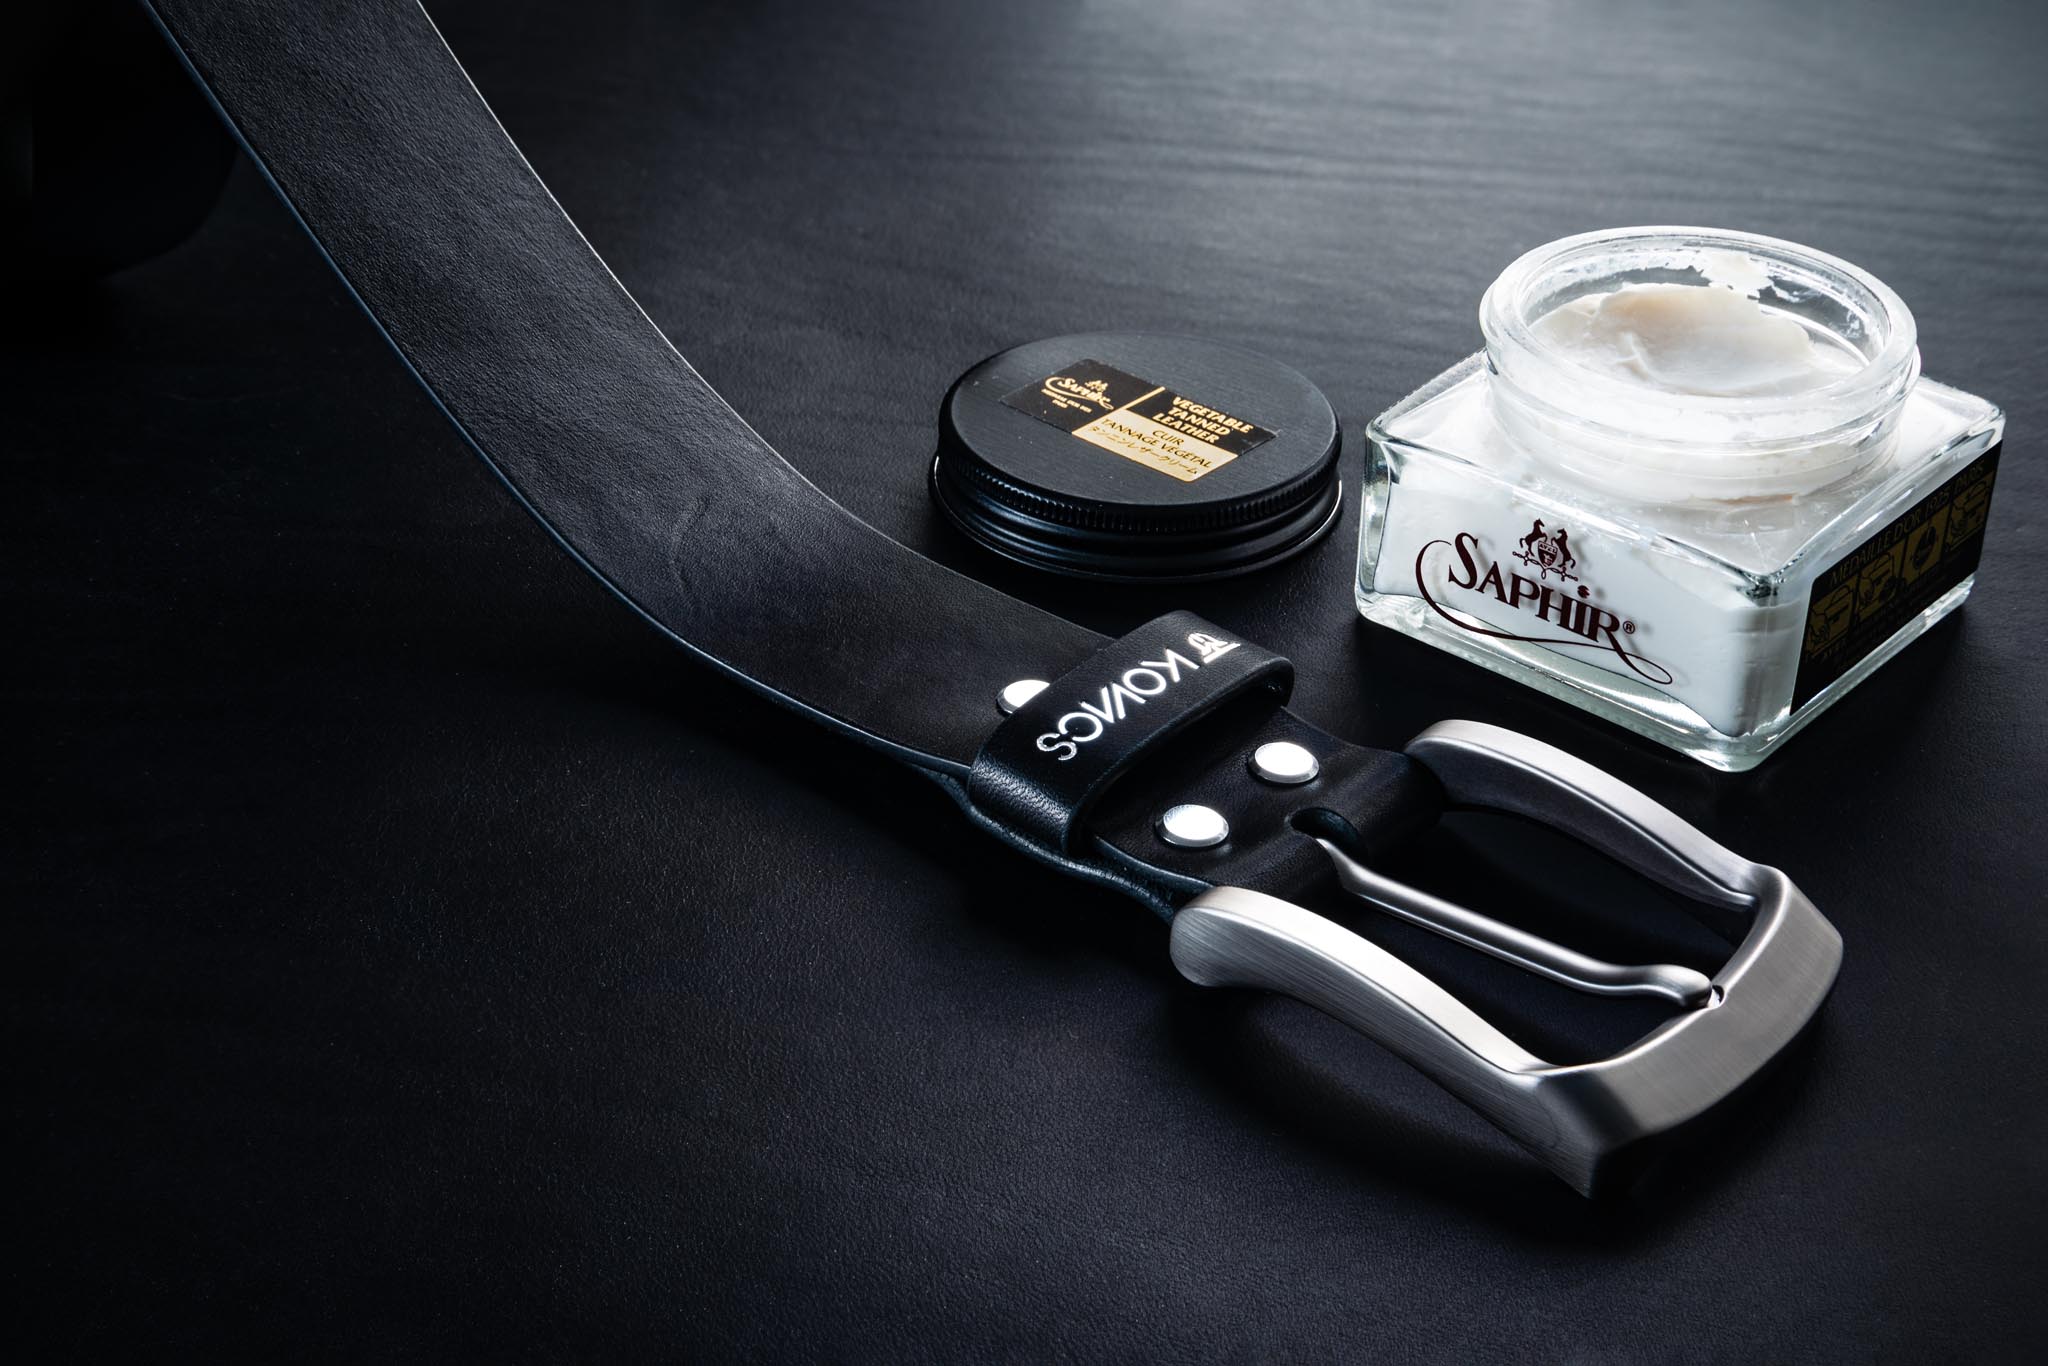
The finishing touch nourishes the leather with Saphir® Leather Cream, adding subtle shine and protection. Beeswax, carnauba wax, and lanolin give each piece a natural aroma and refined appearance. At this stage, any final adjustments are made to ensure the belt meets our exacting standards before leaving the atelier.